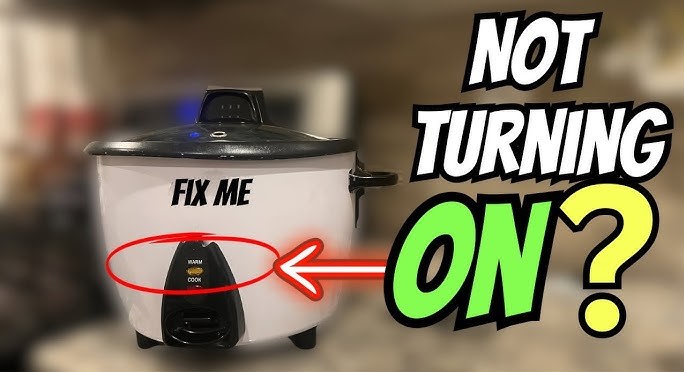
Rice Cooker Switch Not Working [The Common Causes]
If your rice cooker switch not working, don’t rush to buy a new appliance just yet. Most issues stem from simple food debris, a tripped thermal fuse, or minor mechanical wear that can be fixed at home in minutes with basic tools.
There is nothing more frustrating than coming home after a long day, hungry and ready for dinner, only to find your rice cooker switch not working. You press the button down, but it keeps popping back up. Or, perhaps the light stays off entirely, leaving you with a pot of cold, uncooked grains. In 2026, we rely on these reliable kitchen companions more than ever, yet even the best models can run into mechanical trouble.
Before you toss your appliance in the recycling bin and head to the store, take a breath. Many people assume a broken switch means a broken appliance, but that is rarely the case. Often, your rice cooker switch not working is simply a signal that it needs a little TLC or a minor internal adjustment. In this guide, we will walk through the common reasons for this failure and how you can get your kitchen back to normal without breaking the bank.
Key Takeaways
- Mechanical Obstruction: Most often, a rice cooker switch not working is caused by hardened starch or grain debris inside the housing.
- Thermal Fuse Failure: If the unit won’t turn on at all, the internal safety fuse may have blown due to overheating.
- The Magnet Sensor: Many modern cookers use a magnetic thermostat that loses its pull if the spring mechanism is damaged.
- Safety First: Always unplug your rice cooker and let it cool completely before attempting any physical inspections or repairs.
- When to Replace: If there is visible charring, melting, or recurring electrical shorts, it is safer to replace the unit than to attempt a repair.
- Prevention Matters: Cleaning the bottom of the inner pot and the sensor plate regularly prevents most switch failures.
Understanding How the Switch Mechanism Works
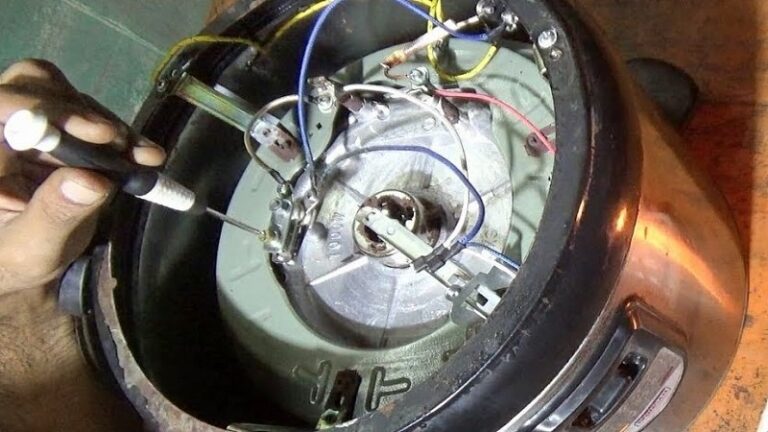
To fix the problem, we first need to understand the mechanism. Most standard rice cookers operate on a simple yet effective system. At the center of the heating base, you will find a small, spring-loaded sensor plate. This is the heart of your cooker. When you push the switch down, it engages a lever that pushes this sensor against the bottom of your inner cooking pot.
The Role of the Magnetic Thermostat
Inside the cooker, there is a magnetic sensor. This sensor is designed to detect the temperature of the pot. As long as there is water in the pot, the temperature stays at 100 degrees Celsius (212 degrees Fahrenheit). Once the water evaporates, the temperature begins to rise rapidly. The magnet senses this change, loses its magnetic grip, and the spring releases the switch, turning the cooker to “Warm” mode.
Why the Switch Fails
If your rice cooker switch not working correctly, it usually means the communication between the switch, the spring, and the sensor has been interrupted. This can be caused by physical blockage, a weak spring, or the internal magnet failing to respond to heat. Understanding this relationship helps you narrow down whether you are dealing with a “stuck” switch or an “electrical” switch issue.
Common Causes for a Stuck or Unresponsive Switch
When you encounter a rice cooker switch not working, the first step is to evaluate the physical condition of the unit. We often forget that these devices sit on our counters and collect dust, steam, and tiny food particles. These elements are the primary enemies of a smooth-operating switch.
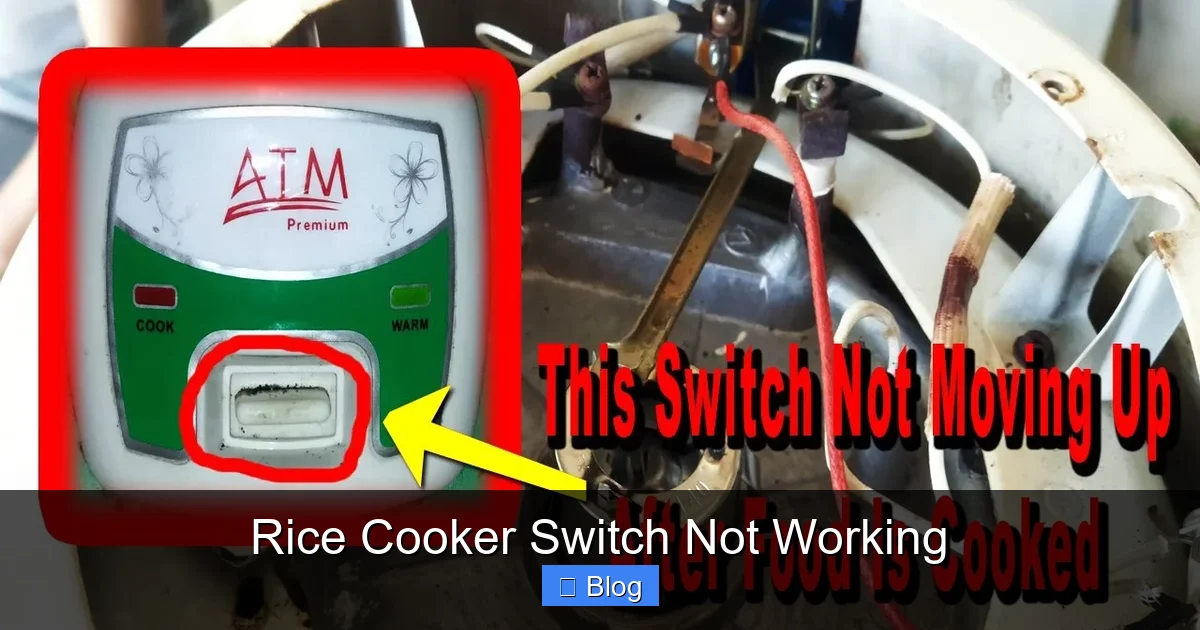
Visual guide about Rice Cooker Switch Not Working
Image source: i.ytimg.com
The Culprit: Hardened Rice Starch
The most common reason for a rice cooker switch not working is debris. If a bit of water or rice juice spilled over the rim of the pot and dried, it acts like glue. This sticky residue can build up around the switch lever or the sensor plate in the middle. When the substance hardens, it creates enough resistance to prevent the switch from locking into the “Cook” position.
Bent or Damaged Sensor Springs
Over time, the spring beneath the sensor plate can lose its tension or become slightly misaligned. If you have ever dropped your inner pot or slammed it into the housing, you might have bent the central pin. If this pin does not make perfect contact with the bottom of the pot, the switch will not “stick” because it cannot feel the weight or the heat transfer properly.
Internal Corrosion
Living in a humid environment or using the cooker in a steam-heavy kitchen can cause internal oxidation. Tiny metal parts inside the switch housing can rust, making them sluggish. If you notice a metallic grinding sound when you press the button, internal oxidation is a likely suspect.
Step-by-Step Troubleshooting for Home Repairs
Now that we know the “why,” let’s talk about the “how.” You do not need to be an engineer to fix most of these issues. However, you must always start by unplugging the device. Safety is paramount when working with kitchen appliances that handle heat and electricity.
Cleaning the Sensor Plate
Take a damp cloth and gently clean the center sensor plate. If there is hardened gunk, use a small, soft brush—an old toothbrush works perfectly—to scrub around the edges. Do not use sharp metal objects like knives or screwdrivers, as these can scratch the surface and permanently damage the delicate sensor. Once clean, wipe it dry and try to depress the switch again.
Checking the Inner Pot Alignment
Sometimes the issue isn’t the switch, but the pot itself. Is your inner pot dented at the bottom? If the bottom of the pot is warped, it cannot sit flush against the sensor. Place your pot on a flat surface like a countertop. If it rocks or wobbles, the uneven contact is preventing your switch from engaging. In this case, you may need a new inner pot rather than a new cooker.
Testing the Mechanical Lever
If the switch feels loose or like it isn’t “catching,” gently shake the unit. Listen for loose parts. If the cooker is out of warranty, you can remove the bottom screws of the base to inspect the mechanical lever. Often, a simple realignment of the plastic arm that connects the button to the internal mechanism solves the problem instantly.
When the Problem Is Electrical
If you have cleaned the sensor and ensured the pot is flat, but the rice cooker switch not working persists, you might be looking at an electrical component failure. This is slightly more complex, but still manageable for those comfortable with basic tools.
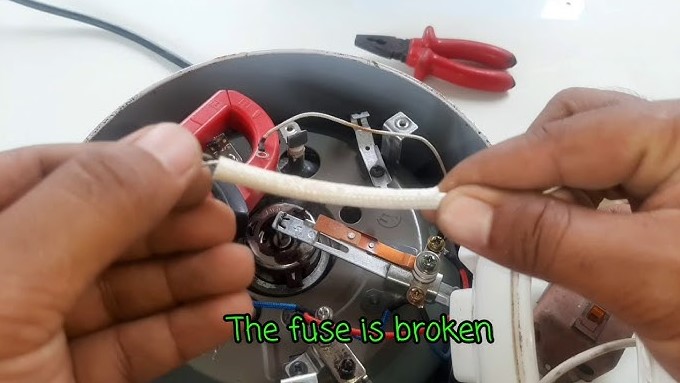
The Blown Thermal Fuse
Rice cookers contain a thermal fuse designed to blow if the unit gets dangerously hot. This prevents fires. If your switch won’t stay down and the light doesn’t turn on, your thermal fuse may have tripped. You can test this using a multimeter. If the fuse shows no continuity, it needs to be replaced. These fuses are inexpensive and widely available online in 2026.
Damaged Power Cords
It sounds simple, but never overlook the power cord. If the cord is kinked, frayed, or the connection port on the back of the cooker is loose, the unit won’t receive enough power to engage the electromagnetic coil that holds the switch down. Ensure the plug is firmly seated in the base of the unit.
Troubleshooting the Magnetic Coil
If you hear a “click” but the switch pops up immediately, the internal electromagnet may be failing. This coil is what holds the switch in place until the rice is done. If the coil is weak, it cannot hold the switch against the spring tension. If this is the case, you have reached the limit of a “quick” repair, and it may be time to consult a professional or consider a replacement.
Preventative Maintenance Tips for 2026
The best way to deal with a rice cooker switch not working is to prevent it from happening in the first place. By adopting a few simple habits, you can extend the life of your kitchen appliances by years.
Regular Cleaning Habits
Every time you remove the inner pot, take a second to look at the heating plate. If you see water droplets or crumbs, wipe them away immediately. Never put the inner pot into the housing if the outside of the pot is wet. The moisture can drip down into the switch mechanism and cause long-term corrosion.
Proper Pot Handling
Avoid tapping your metal spoon against the inner pot to shake off excess rice. This vibration can damage the sensor plate and even cause hairline cracks in the non-stick coating. Treat the pot with care, and place it gently into the housing. A little extra caution goes a long way in keeping the internal sensors aligned.
Storage and Usage
If you are not going to use your rice cooker for a few weeks, store it in a dry place. Humidity is the hidden enemy of electronic switches. Furthermore, never block the vents on the lid or the bottom. If the cooker cannot vent steam properly, it can build up inside the housing, accelerating the wear on the switch components.
Conclusion: To Fix or Replace?
Seeing your rice cooker switch not working is an inconvenience, but it is rarely a catastrophe. By systematically checking for debris, inspecting the sensor plate, and ensuring the pot is properly aligned, you can resolve most issues in under fifteen minutes. These machines are designed for longevity, and a little bit of manual maintenance is often all they need to keep producing perfect, fluffy rice for years to come.
However, know your limits. If you have attempted the repairs above and the unit still refuses to function, or if you notice burnt plastic smells, it is time to put the machine to rest. Safety should always be your priority in the kitchen.
In 2026, there are many affordable and energy-efficient options available if a replacement becomes necessary. But before you head to the store, give these troubleshooting tips a try you might be surprised at how easy it is to bring your rice cooker back to life.
Frequently Asked Questions
Why does my rice cooker switch pop up immediately?
This usually happens because the magnetic sensor is not making proper contact with the pot or there is debris blocking the sensor plate. Ensure the bottom of the pot is clean and flat, and check that no food particles are lodged in the center spring mechanism.
Is it safe to use a rice cooker if the switch feels loose?
If the switch is just slightly loose but still engages the cooking cycle and turns off when finished, it is likely safe to use. However, if the switch fails to stay down or feels like it might cause an electrical arc, you should stop using it immediately to prevent fire hazards.
Can I clean the inside of my rice cooker with water?
Never submerge the main body of a rice cooker in water or rinse it under a tap, as this will destroy the electrical components. Use only a damp, slightly soapy cloth to wipe the exterior and a dry brush to clean the internal sensor area.
How do I know if my thermal fuse is blown?
A blown thermal fuse will typically result in a rice cooker that shows no lights and produces no heat when plugged in. You can confirm this by testing the fuse for continuity using a multimeter; if there is no signal, the fuse must be replaced.
Can I replace the switch myself?
Yes, if you are comfortable with basic appliance repair, you can order a replacement switch online. You will need to unscrew the bottom housing of the rice cooker to access the internal wiring and the switch assembly.
Should I replace my rice cooker if it’s over 5 years old?
If your rice cooker is over five years old and the switch has failed, it might be more cost-effective to upgrade to a newer, more energy-efficient model. However, if the fix is just a simple cleaning of the sensor, a high-quality cooker can easily last for a decade or more.