
Keurig Coffee Maker Not Working After Descaling
If your Keurig coffee maker is not working after descaling, it is likely trapped with air bubbles or residual mineral deposits. By following a few simple manual resets and cleaning techniques, you can quickly restore your machine to perfect working order without needing a replacement.
There is nothing quite as frustrating as waking up, stumbling to the kitchen, and finding that your trusty Keurig coffee maker is not working after descaling. You did the responsible thing! You followed the manual, you ran the solution through the system, and you expected a clean, fast-flowing cup of coffee. Instead, you are met with flashing lights, strange buzzing sounds, or worst of all total silence.
Before you start looking at the price of a brand-new machine, take a deep breath. In the vast majority of cases, when a Keurig coffee maker is not working after descaling, it is not actually broken. Instead, it is likely just “confused” or suffering from a common air-lock issue. In this guide, we will walk through the exact steps to fix your brewer and get you back to your favorite roast in no time.
Key Takeaways
- Air Locks: Most issues after descaling are caused by air trapped in the internal lines, which blocks water flow.
- Sensor Errors: Sometimes the machine thinks the water tank is empty even when it is full due to calcium buildup on the magnet.
- Exit Needle Clogs: Fine debris or coffee grounds can get pushed into the exit needle during the cleaning cycle, blocking the flow.
- The Power Reset: A simple power-cycle unplugging the machine for an hour often clears out digital “glitches” post-cleaning.
- Use Proper Ratios: Using the wrong concentration of vinegar or a non-approved descaling solution can trigger system protection modes.
- Prevention Matters: Regular descaling every three months keeps internal components moving freely and prevents stubborn blockage issues.
Understanding Why Your Keurig Stops After Descaling
Why does a machine that worked fine before cleaning suddenly stop? It feels counterintuitive, but the descaling process is actually a “stress test” for your brewer. When you run a descaling solution through the internal tubes, you are loosening years of calcium and mineral deposits. Sometimes, those loose pieces of gunk don’t exit the machine smoothly; instead, they get stuck in the narrowest parts of the internal tubing or the needles.
The Problem of Air Locks
The most common culprit when a Keurig coffee maker is not working after descaling is an air lock. When you empty the water reservoir and refill it, air can get trapped in the intake tube. Because the Keurig pump is designed to move water, not air, it struggles to create the pressure needed to brew. It essentially acts like a straw with a hole in it; it just cannot pull the water up into the heater.
Residual Mineral Blockages
Another reason is the “avalanche effect.” As the descaling liquid travels through the machine, it breaks off chunks of limescale that are larger than the exit needle. These tiny flakes can clog the bottom of the exit needle, creating a stubborn plug. Even if your pump is working perfectly, the coffee or water simply has nowhere to go.
The First Line of Defense: The Power Reset
Before you grab a screwdriver or take the machine apart, try the easiest fix in the book: the hard reset. Many modern Keurig models have sensors that can get stuck in a “descaling mode” or an error loop.

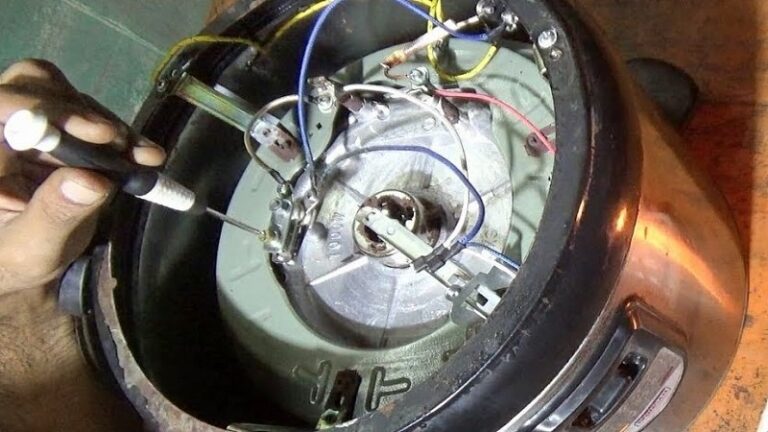
Visual guide about Keurig Coffee Maker Not Working After Descaling
Image source: i.ytimg.com
Performing a Full Power Cycle
Unplug your machine from the wall outlet completely. Leave it unplugged for at least one full hour. This allows the internal capacitors to discharge fully and forces the memory board to reset its status. While it is unplugged, remove the water reservoir and leave it off to the side.
Clearing the Sensor
While the machine is unplugged, look at the water reservoir. There is usually a small magnetic float inside. Sometimes, this gets stuck after a vigorous cleaning. Gently shake the reservoir or use a clean paperclip to ensure the magnet moves freely. If the magnet is stuck at the bottom, the machine will permanently think the tank is empty, causing your Keurig coffee maker to not work after descaling.
Solving Air Locks and Water Flow Issues
If the reset did not work, it is time to manually clear out the air. Air locks are stubborn, but they are relatively easy to defeat with a bit of “persuasion.”
The “Shake and Tap” Method
With the machine plugged back in, pick up the entire brewer. Gently tilt it forward or to the side while it is over the sink. Sometimes, moving the machine helps the trapped air bubble escape from the intake line. You might hear a small gurgle or see a few bubbles rise in the reservoir; that is a good sign that the air is finally escaping.
Forcing the Pump
If the brewer sounds like it is trying to run but nothing is coming out, try the “turkey baster” method. Take a turkey baster filled with water and gently inject water into the intake port at the bottom of the water reservoir seat. This can provide the necessary pressure to force the water through the intake line and clear out the stubborn air pocket.
Cleaning the Needles: The Hidden Clog
If you hear the pump running, but nothing flows into your mug, the exit needle is almost certainly blocked. This is the most common reason for a Keurig coffee maker not working after descaling.
Inspecting the Exit Needle
Open the brew head. Use a flashlight to look at the bottom needle. If you see debris, that is your blockage. You can use a straightened paperclip to gently poke into the needle hole. Be very careful the needle is sharp! Gently move the paperclip around to dislodge any sediment that has collected there.
Using the Cleaning Tool
If your specific Keurig model came with a plastic orange or grey cleaning tool, now is the time to use it. This tool is designed to snake through the needle and clear out any gunk without damaging the delicate screen. If you have lost yours, you can order a generic one online for just a few dollars, and it is a lifesaver for long-term maintenance.
Refining the Descaling Procedure
Sometimes, the issue isn’t that you did a bad job – it’s that the machine needs another round. If the machine only produces a “sputter” of water, you might still have a partial blockage in the internal heater.
Double-Rinsing Properly
Never rush the rinse cycle. If your Keurig coffee maker is not working after descaling, run a full reservoir of plain, fresh water through the machine without a K-cup. If it stops halfway, wait ten minutes. Sometimes, the heater needs to cycle off and on to move the blockage through the final stages of the internal plumbing. Repeat this at least three times to ensure all traces of the descaling solution are gone.
Checking Your Water Quality
Are you using filtered water? If you are using hard tap water, the minerals are essentially fighting against your cleaning efforts every day. Switching to filtered water or bottled spring water can prevent these post-descaling headaches in the future, as it reduces the amount of limescale that builds up in the first place.
When to Call It Quits (Professional Repair)
If you have tried the power reset, cleared the air lock, poked the needle, and run multiple rinse cycles, and your Keurig coffee maker is still not working after descaling, you may have a hardware failure. This is rare, but it happens.
Internal Pump Failure
If the pump makes a very loud, grinding noise or absolutely no noise at all, the motor may have burned out. This can happen if the pump ran while blocked for too long. At this point, if your machine is under warranty, contact Keurig support. Do not attempt to take the outer casing off, as this will void your warranty immediately.
Final Thoughts
Dealing with a machine that refuses to brew after you tried to be proactive is incredibly frustrating. However, remember that most of the time, the fix is sitting right under your nose. Be patient with your machine, give it the time it needs to reset, and focus on clearing those air pockets and needle blockages. Once you get that first perfect cup, the frustration will melt away just like that stubborn calcium deposit.
Frequently Asked Questions
Why does my Keurig make a loud noise but no coffee comes out?
This is a classic sign of an air lock or a clogged exit needle. The pump is working hard to pull water, but the blockage prevents it from moving, causing the motor to strain.
Is it safe to use a paperclip to clean the needles?
Yes, it is safe as long as you are gentle. Ensure the machine is powered off and be careful not to bend or break the metal structure of the needle itself.
How often should I descale my machine to prevent this?
You should descale your Keurig every three to six months, depending on your water hardness. Regular maintenance prevents large chunks of scale from breaking off and causing major clogs.
Can I use pure vinegar to fix the clog?
Avoid using pure, undiluted vinegar as it can be too harsh for the internal rubber seals. Stick to a 50/50 mix of water and vinegar, or use a dedicated commercial descaling solution.
What if the “Add Water” light stays on after I fill the tank?
This usually indicates that the magnetic float in your reservoir is stuck or the sensor area is dirty. Gently clean the area where the reservoir meets the base and ensure the magnet moves freely.
Does leaving the machine unplugged really help?
Yes, it forces a complete reset of the internal computer. Many Keurig models have persistent error codes that can only be cleared by removing all power for an extended period.