How To Fix A Toaster Heating Element: Easy Repair Guide
A toaster heating element that does not glow, heats unevenly, or causes the toaster to stop mid-cycle may have an open circuit, a broken nichrome wire, a loose connection, or a failed control part. In the United States, most household toasters use a 120-volt AC supply, so repair work can cause shock, burns, fire, or electrocution.
The safest answer is often to replace the toaster rather than replace its heating element. Heating wires are fragile, and many toaster designs do not provide a safe, supported way to replace them. If you have electrical repair skills, you can inspect the toaster while it is unplugged and test the element with a multimeter. Do not operate the toaster while its case is open.

Understand how a toaster heating element works
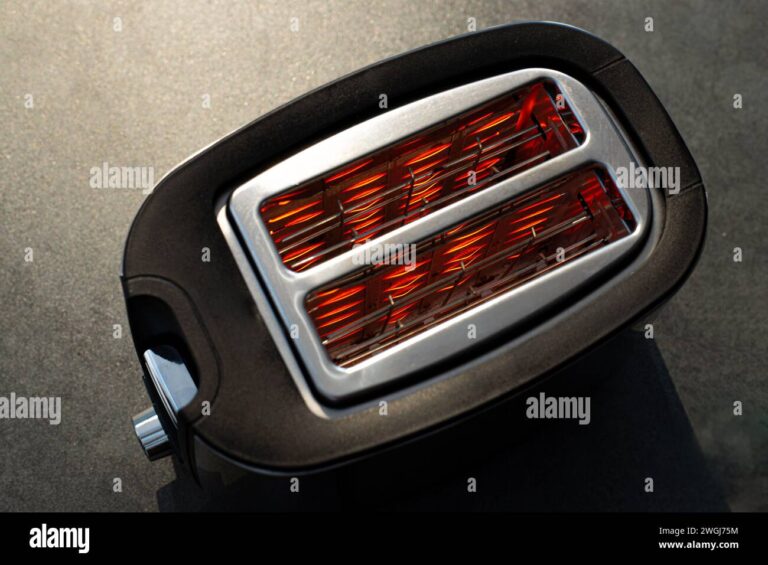
A toaster heating element is usually a thin nichrome wire mounted on a heat-resistant mica sheet. Nichrome is an alloy designed to produce heat when electrical current passes through it. The wire glows red because it reaches a high temperature.
A toaster may contain several heating strips. A two-slot model often has separate circuits for each side of each slot. This means one broken strip can cause uneven browning while the rest of the toaster still works.
The heating element works with other parts, including:
- Power cord: Carries household current to the toaster.
- Control lever and latch: Holds the carriage down during a cycle.
- Timer or electronic control: Sets the heating time.
- Thermostat or heat sensor: Helps control temperature in some designs.
- Thermal fuse: Opens the circuit if the toaster overheats.
- Crumb tray and mica supports: Help manage debris and keep hot parts in position.
A toaster that does not heat may have a bad element, but the element is not always the cause. A failed latch, broken wire, thermal fuse, switch, or control board can produce the same symptom.
Why the element is hard to replace
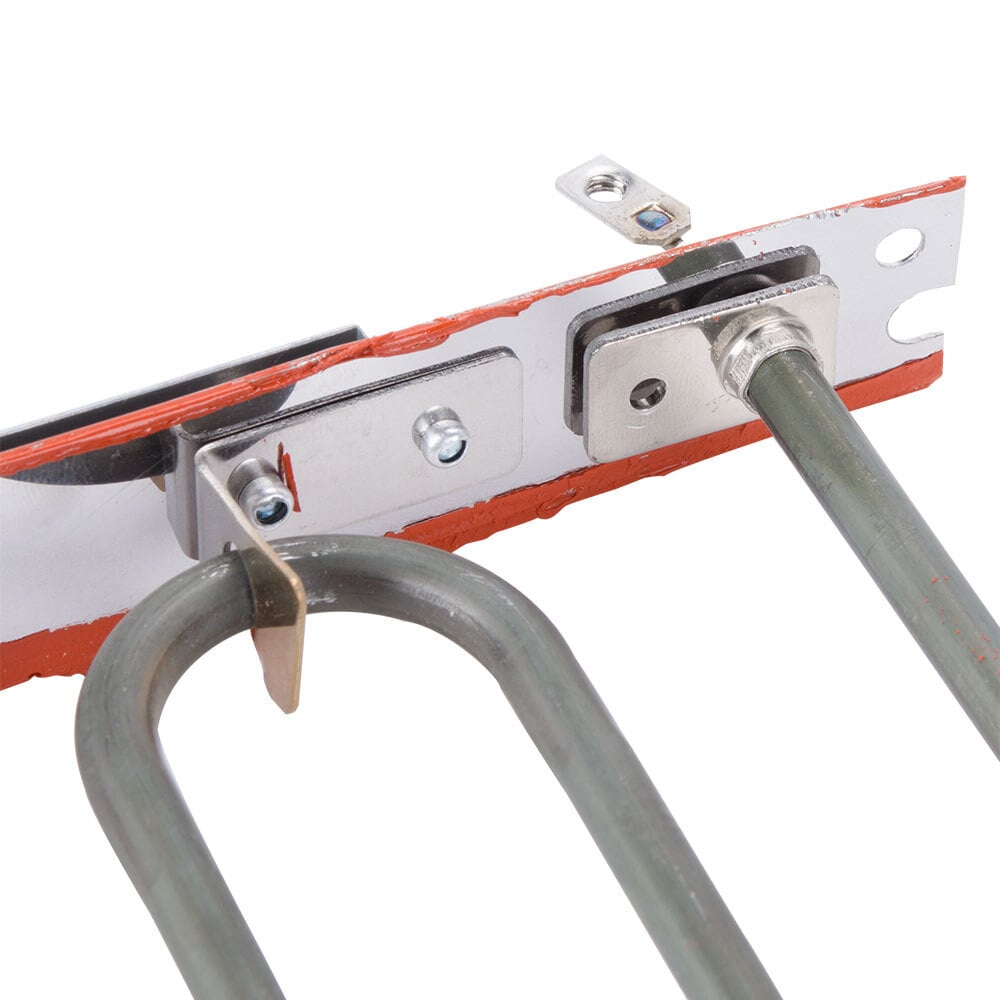
Manufacturers often form the wire to match a specific toaster model. The wire must have the correct resistance, length, spacing, position, and connection method. A replacement wire that is too thin can overheat. One that is too thick may not produce enough heat.
The element also needs to stay clear of the metal case and other wires. A loose wire can touch the housing and create a shock or fire hazard. For this reason, replacing a toaster’s heating wire with household wire, solder, foil, or improvised metal is unsafe.

Put safety before toaster repair
Unplug the toaster before cleaning, opening, or testing it. Do not rely only on the lever, timer, or wall switch. A toaster can contain energized parts whenever its plug is connected to an outlet.
Follow these basic rules:
- Disconnect the plug from the outlet.
- Let the toaster cool fully.
- Move it to a dry, well-lit work area.
- Remove crumbs without pushing tools into the slots.
- Never test an open toaster while it is connected to power.
- Do not use water, spray cleaner, or metal objects inside the toaster.
- Wear eye protection when removing springs or clips.
- Keep children and pets away from the work area.
Do not repair a toaster if the cord is cut, the plug is melted, the case is burned, the toaster smells strongly of burnt plastic, or the appliance has been exposed to water. These signs indicate a wider electrical or fire risk.
The U.S. Consumer Product Safety Commission advises consumers to unplug small appliances when they are not in use and to keep toasters away from combustible materials. The [National Fire Protection Association](https://www.nfpa.org/education-and-research/home-fire-safety/ cooking) also identifies cooking equipment as a major source of home fires. A toaster should sit on a clear, heat-resistant surface while operating.
If the toaster trips a circuit breaker, sparks, or gives you an electric shock, stop using it. Replace it or have it assessed by a qualified appliance technician.

Diagnose the problem before replacing anything
Start with the safest checks. Many apparent heating-element failures come from crumbs, a failed latch, or a power problem.
Check the simple causes first
With the toaster unplugged, inspect the following:
- Test the wall outlet with a lamp or another appliance.
- Check whether the toaster plug fits tightly.
- Look for a damaged cord or bent plug.
- Empty and clean the crumb tray.
- Turn the toaster upside down and gently shake out loose crumbs.
- Check whether the carriage stays down during a cycle.
- Look through the slots for a visibly broken heating wire.
- Look for dark scorch marks, melted insulation, or loose metal parts.
Do not insert a knife, fork, screwdriver, or other metal tool into the slots. Even when unplugged, sharp tools can damage the mica supports or the heating wire.
Match the symptom to the likely cause
| Symptom | Possible cause | Best first action |
|---|---|---|
| No light, no heat, no latch | Outlet, cord, plug, switch, or control fault | Test the outlet and inspect the cord |
| Lever will not stay down | Latch, electromagnet, control, or crumb blockage | Unplug, clean crumbs, and inspect the latch |
| Lever stays down but there is no heat | Heating element, thermal fuse, switch, or control fault | Stop use and test only if qualified |
| One side does not glow | Broken element wire or loose connection | Compare both sides while unplugged |
| Uneven browning | Partial element failure, crumbs, or poor contact | Clean and inspect; replace if damaged |
| Burning smell or smoke | Crumbs, damaged insulation, overheating, or short circuit | Unplug immediately and do not reuse |
| Breaker trips | Short circuit, damaged cord, or failed internal part | Stop testing and replace or seek service |
A visible break in a heating wire is strong evidence that the element has failed. However, a wire can also fail at a connection point that is difficult to see. A toaster that glows but browns poorly may have a control or sensor problem instead of a broken element.
Test resistance only if you know how
A multimeter can check whether an element or circuit is open. Set the meter to resistance, commonly marked Ω, and touch one probe to each end of the isolated element or circuit.
- A reading that changes or shows a finite resistance suggests electrical continuity.
- “OL,” infinity, or no change on the meter usually indicates an open circuit.
- A very low reading may indicate a short, but the correct value depends on the toaster’s design.
- A normal reading does not prove that the element is safe. It may still be damaged, poorly supported, or connected to a failed control.
Unplug the toaster and confirm that no stored or connected power remains before testing. Do not test resistance on a plugged-in appliance. If you cannot identify the correct terminals, do not guess. A qualified repair professional can test the complete circuit safely.

How to replace a toaster heating element
Only attempt element replacement when the manufacturer provides a model-specific replacement part and service procedure. Many household toasters have no approved replacement element. In that case, replacement of the whole toaster is safer.
What you may need
For a supported repair, gather:
- The toaster’s exact model and revision number
- A manufacturer-approved heating element
- A screwdriver that fits the case fasteners
- A multimeter
- Needle-nose pliers
- Insulated work gloves for handling sharp metal edges
- Eye protection
- The service manual, if available
Do not select a replacement based only on appearance. Confirm the part number, voltage, wattage, shape, mounting method, and connector style.
General repair process
The following is a general overview, not a substitute for the manufacturer’s instructions:
- Unplug the toaster and let it cool.
- Photograph the exterior and internal wiring before removing parts.
- Remove the crumb tray and case screws.
- Lift the housing off without pulling on wires.
- Identify the failed element and trace its connections.
- Use a multimeter to confirm the suspected open circuit.
- Remove the damaged element without bending nearby mica sheets.
- Install the exact replacement in the original position.
- Restore every insulator, clip, spring, shield, and wire.
- Check that no wire can touch the metal case or moving carriage.
- Tighten the case and replace the crumb tray.
- Inspect the cord and plug before returning the toaster to service.
Do not solder directly onto a heating element unless the service instructions specifically require it. Solder can melt at toaster operating temperatures. Heating elements generally use suitable mechanical terminals, crimps, or purpose-built connectors.
Do not stretch the wire, shorten it, twist it around a screw, or replace it with copper wire. Do not bypass a thermal fuse, safety switch, or thermostat. Those parts protect against overheating and fire.
Signs that the repair was completed correctly
A successful repair should leave the toaster:
- Fully enclosed
- Free of loose screws and metal fragments
- Clear of pinched wires
- Equipped with all original insulation and shields
- Able to latch and release normally
- Free of smoke, sparks, and burning odor
- Heating evenly according to its normal design
If the element glows much brighter than the others, the toaster smells hot, the case becomes unusually hot, or the breaker trips, unplug it immediately. Do not continue testing.

When replacing the toaster is the better choice
For many inexpensive consumer toasters, whole-appliance replacement is the safer and more practical option. A heating element may be only one failed part. The latch, timer, thermostat, insulation, cord, and thermal fuse may also be worn.
Replace the toaster instead of repairing it when:
- No correct replacement element is available.
- The model has burned or melted internal parts.
- The power cord or plug is damaged.
- The toaster has a cracked or warped case.
- The heating wire is supported by broken mica.
- The toaster repeatedly trips a breaker.
- The repair cost approaches the cost of a new listed toaster.
- You cannot verify the repair with confidence.
Look for a toaster with a recognized safety certification mark, such as UL, ETL, or another certification accepted for the U.S. market. A certification mark does not prevent every failure, but it indicates that the product was evaluated under an applicable safety standard by a recognized testing organization.
Do not dispose of a damaged toaster in regular recycling unless your local program accepts small electrical appliances. Check your city, county, or waste provider for appliance recycling instructions.

Common mistakes to avoid
The most dangerous toaster repairs usually involve bypassing a safety part or using the wrong material.
Avoid these mistakes:
- Using a metal utensil to remove toast: This can cause a shock or short circuit.
- Plugging in the toaster with the case removed: Exposed live parts and hot wires create severe hazards.
- Replacing nichrome with copper wire: Copper has different resistance and can overheat.
- Bypassing the thermal fuse: The fuse may be the only protection against a dangerous overheat.
- Using household tape near the element: Adhesives and insulation can fail at high heat.
- Bending mica sheets: Cracked insulation can allow the element to contact the case.
- Ignoring a damaged plug: A new element will not correct an unsafe power cord.
- Cleaning with water: Moisture can remain inside the appliance and cause a short.
- Assuming a red glow proves safe operation: A toaster can heat while still having a damaged control or insulation fault.
A toaster is not a good place to improvise. If the exact repair part and service method are not documented, replacement is usually the responsible choice.

Frequently asked questions
Can I replace a toaster heating element myself?
You can replace one only if the toaster manufacturer supports the repair and provides the correct part and instructions. Without those details, do not improvise a replacement wire or connector. Most consumers will be safer replacing the toaster or using a qualified appliance repair service.
Why does my toaster heat on only one side?
One side may have a broken heating element, loose terminal, failed switch, or damaged control circuit. Unplug the toaster and inspect it for a visible break or burn mark. If you cannot identify the fault safely, stop using it.
Can I fix a broken nichrome wire by twisting it together?
No. A twisted repair can create a hot spot, loose connection, or contact with the toaster case. It may also change the circuit resistance. Use only a manufacturer-approved replacement assembly or replace the appliance.
Is it safe to use a toaster if one element does not work?
It is not recommended. The remaining elements may heat unevenly, and the failed part may have damaged a connection or safety device. Unplug the toaster and repair it according to the manufacturer’s instructions or replace it.
Why does my toaster keep popping the breaker?
A breaker may trip because of a shorted element, damaged cord, failed control, moisture, or another internal fault. Do not repeatedly reset the breaker and try again. Unplug the toaster and have it assessed or replace it.
Final recommendation
First, unplug the toaster and check the outlet, cord, latch, crumbs, and visible heating wires. If the element is clearly broken, use a model-specific replacement only when the manufacturer supports the repair. Otherwise, replace the toaster—especially when it has scorch marks, a damaged cord, a cracked insulator, smoke, or a history of tripping the breaker.
A toaster is a low-cost appliance, but it is still a high-temperature electrical device. When the repair method is uncertain, choosing a safe replacement is better than risking shock or fire.