How To Remove The Crumb Tray From A Toaster: Easy Steps
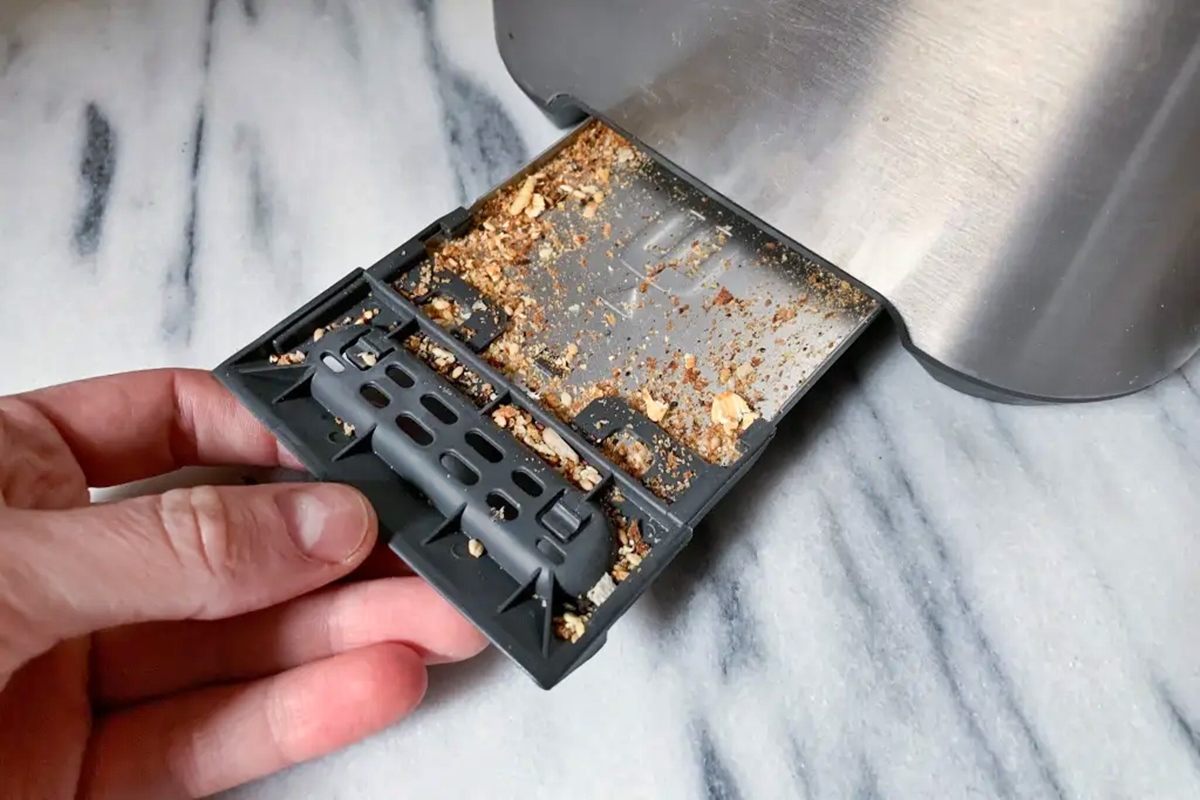
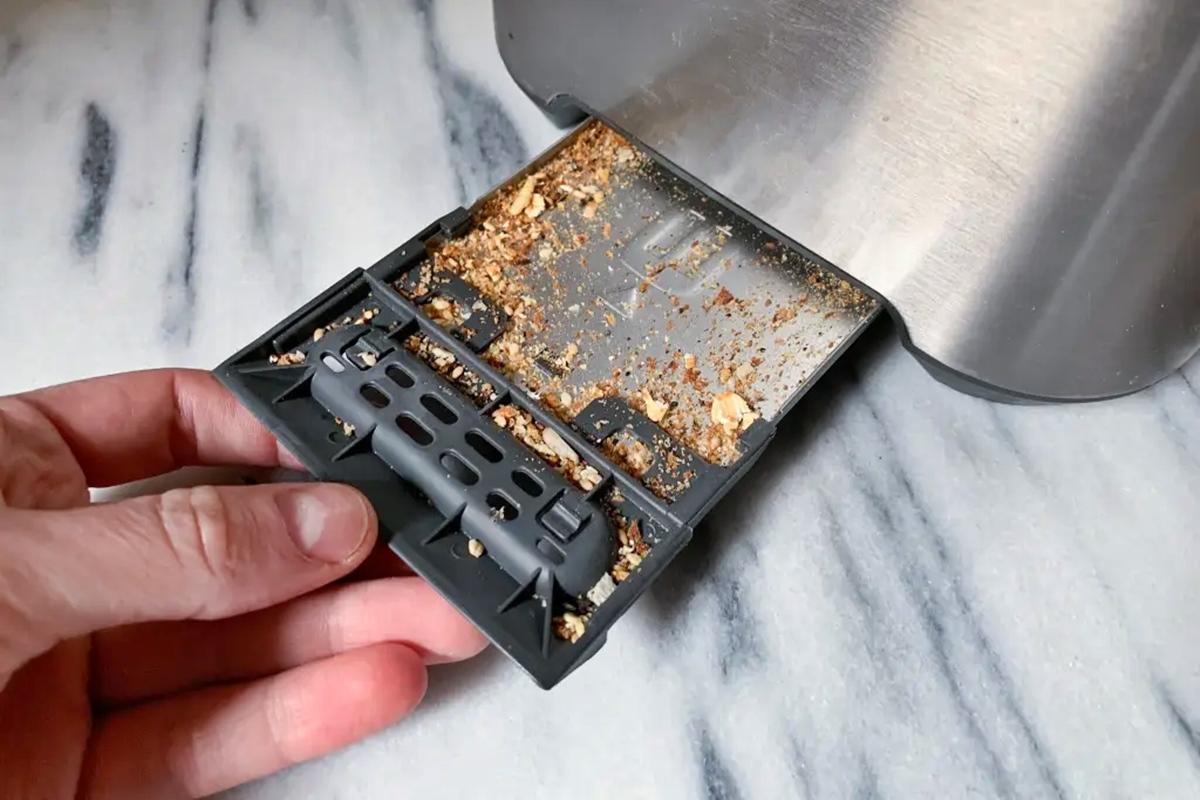
To remove a crumb tray from a toaster, first unplug the toaster and let it cool. Place it over a trash can or sink, then slide the tray out from the bottom or rear of the toaster. If the tray is hinged, lower it and empty the crumbs. Never force the tray or use the toaster while the tray is removed.
In American homes, most pop-up toasters have one of two crumb-tray designs: a removable slide-out tray or a hinged tray that opens at the bottom. The exact location varies by brand and model, so check the user manual if the tray does not move easily.
Before You Remove the Crumb Tray
Gather a trash can, a dry cloth, and a soft brush if the tray has stuck crumbs. You may also need mild dish soap if the tray is washable.
Follow these safety steps first:
- Unplug the toaster from the wall outlet.
- Wait until the toaster is fully cool.
- Move the toaster to a clear, dry work area.
- Keep the toaster away from water while it is connected to power.
- Do not insert a knife, fork, or metal tool into the toaster.
Unplugging matters because loose crumbs can fall near the heating elements. A toaster may also start if someone presses the lever by mistake. The safest time to clean it is when it is cool and disconnected from power.
A crumb tray is a shallow metal or plastic panel below the heating chamber. It catches bread crumbs and small food particles. It does not usually collect every crumb inside the toaster, so removing the tray is only one part of safe toaster cleaning.

How to Remove a Slide-Out Crumb Tray
A slide-out tray usually sits along the lower back or bottom edge of the toaster. It may have a small handle, finger tab, or recessed grip.
Use this method:
- Turn the toaster around so you can see the back or lower edge.
- Look for a flat panel near the bottom.
- Find the handle or release tab.
- Pull the tray straight out with gentle, even pressure.
- Support the tray with your other hand as it comes free.
- Empty the crumbs into a trash can.
Pull the tray in the direction it is designed to travel. Do not twist it from side to side. Twisting can bend the tray or damage its guide rails.
Some trays stop after moving only a short distance. This may be normal. Look for a small stop tab that keeps the tray from falling out. If the tray seems to stop, pull gently while keeping it level. Do not yank it.
If the tray has a locking tab
Some toaster trays include a small latch. Press or lift the latch only if the handle shows a release symbol or the manual describes that action. Do not pry at the tray with a screwdriver.
If the tray comes out, set it on a dry towel. Check that no crumbs remain in the toaster opening before putting it back.

How to Open a Hinged or Drop-Down Crumb Tray
A hinged crumb tray does not slide all the way out. Instead, it opens from the bottom of the toaster.
To open it:
- Unplug and cool the toaster.
- Find the tray door on the bottom or rear of the unit.
- Look for a small handle, latch, or raised edge.
- Pull the handle gently or press the release.
- Lower the tray over a trash can.
- Brush or shake out the crumbs.
- Close the tray until it sits flat and secure.
Some hinged trays are designed to remain attached. Do not try to remove the hinge unless the manufacturer’s instructions say that the tray is removable.
A tray that hangs slightly open after cleaning may not be fully latched. Close it again without force. If it will not stay closed, stop using the toaster until you identify the problem.
What to Do If the Crumb Tray Will Not Come Out
A stuck tray often has a simple cause, such as packed crumbs or a bent edge. Work through the safest checks first.
| Symptom | Likely cause | Safe action |
|---|---|---|
| Tray moves but stops | Crumbs or a built-in stop | Pull slowly while keeping it level |
| Tray will not move at all | Latch is still engaged | Look for a release tab or check the manual |
| Tray feels crooked | Tray is misaligned | Push it in slightly, then pull it straight |
| Tray handle is loose | Damaged handle or fastener | Stop and inspect without forcing |
| Tray is stuck after washing | Moisture or residue | Let it dry fully and clean the rails |
| No tray is visible | Hidden or fixed design | Check the model instructions |
Do not turn the toaster upside down and shake it hard. This can move crumbs deeper into the appliance or damage the controls. A gentle tilt over a trash can may help, but only when the toaster is unplugged and cool.
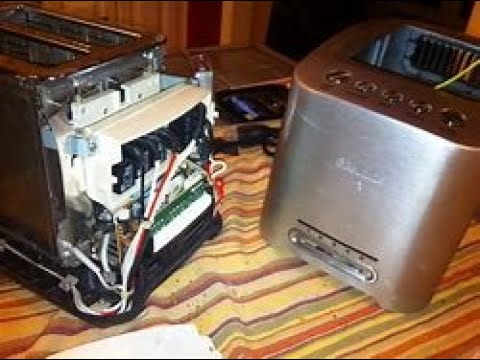
If the tray remains stuck, do not use a knife or screwdriver to pry it out. Do not remove the toaster’s outer case. Internal parts can retain heat or create an electrical hazard even when the appliance is not running.
Contact the manufacturer or replace the toaster if the tray is bent, broken, or blocked by a damaged part. A repair may cost more than a basic toaster, so compare the repair cost with the toaster’s age and condition.

How to Clean the Crumb Tray
Clean the tray after removing it, but first check the user manual. Some trays are dishwasher-safe. Others should be washed by hand or wiped with a damp cloth.
For a removable washable tray:
- Shake loose crumbs into the trash.
- Wash the tray with warm water and mild dish soap.
- Use a soft sponge to remove stuck residue.
- Rinse away all soap.
- Dry the tray completely before reinstalling it.
For a tray that is not washable, wipe it with a slightly damp cloth. Never soak a tray unless the manual allows it.
Do not pour water into the toaster body. Keep water away from the slots, heating elements, lever, and electrical cord. A damp interior can create a shock risk or damage the appliance.
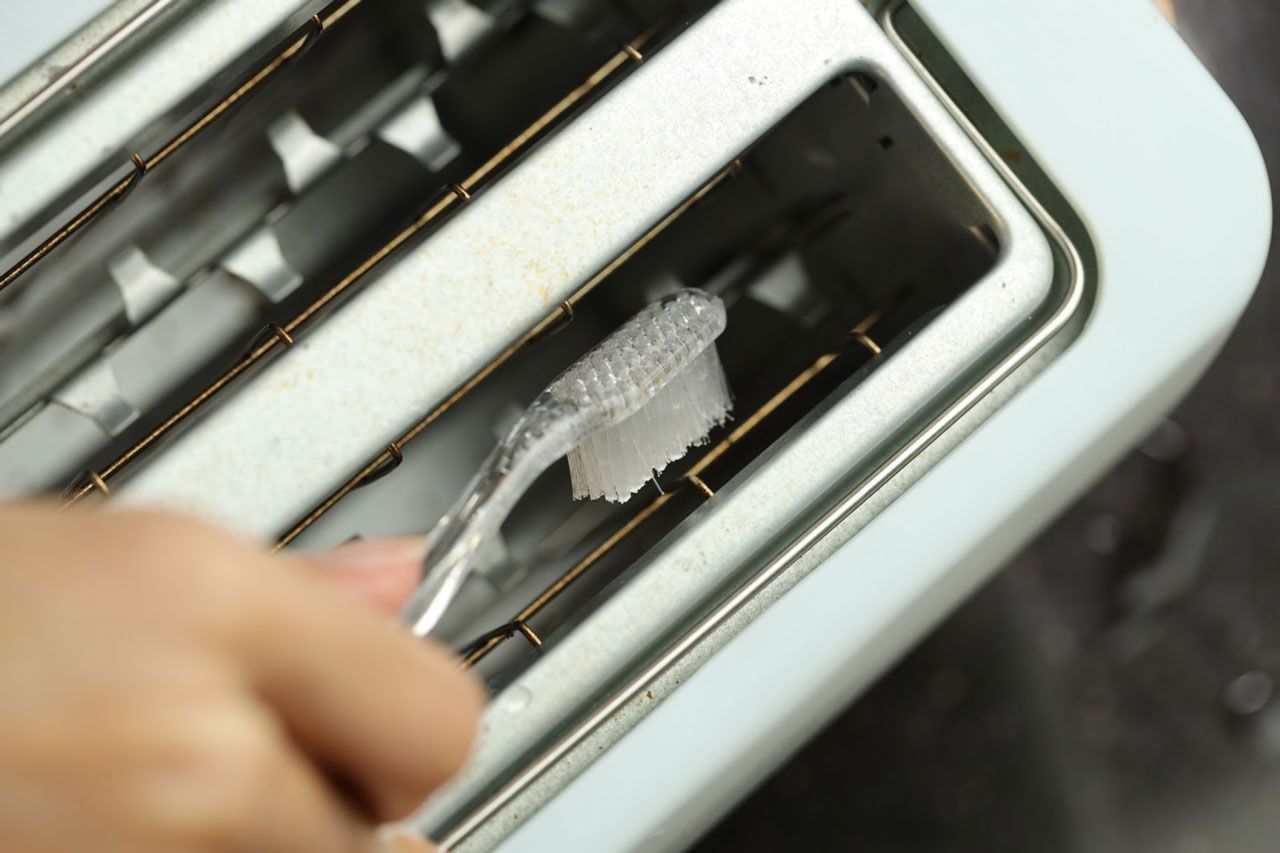
Use a soft, dry brush to remove crumbs from the toaster opening. Hold the toaster over a trash can and gently tilt it from side to side. Avoid aggressive shaking.

How to Reinstall the Crumb Tray
A crumb tray must be fully installed before you use the toaster again. A loose tray can catch crumbs poorly, interfere with the toaster’s base, or leave an opening for debris.
For a slide-out tray:
- Make sure the tray is completely dry.
- Match the tray’s rails with the slots in the toaster.
- Push the tray in straight.
- Press gently until it sits flush with the toaster body.
- Check that the handle does not protrude unusually.
For a hinged tray:
- Align the tray with its hinge.
- Raise it into the closed position.
- Press until the latch engages, if present.
- Check that it stays closed without pressure.
Do not operate the toaster if the tray is missing, loose, cracked, or unable to close. Read the manual for replacement-part information if the tray is damaged.

Common Mistakes to Avoid
Pulling the tray while the toaster is hot
Heat can burn your fingers, and hot crumbs may continue to smolder. Wait until the toaster is cool to the touch.
Cleaning while the toaster is plugged in
A plugged-in toaster can start unexpectedly. Unplug it before handling the tray or cleaning near the slots.
Using metal tools
Metal tools can damage the heating elements and create a shock hazard. Use only the release mechanism supplied with the toaster.
Washing the whole toaster
A toaster is not designed to be rinsed or submerged. Water can reach electrical parts and may cause damage.
Forcing a non-removable tray
Some toaster models have a fixed bottom panel or a tray that opens but does not detach. Follow the instructions for that model rather than forcing the part.
Reinstalling a damp tray
Moisture can collect inside the toaster. Allow the tray to dry fully before putting it back.
How Often Should You Empty a Toaster Crumb Tray?
Empty the tray whenever it contains a noticeable layer of crumbs. For regular household use, checking it about once a week is a practical starting point. Check it more often if you toast items that shed many crumbs.
You should also clean the tray:
- After toasting heavily crumbed bread
- After a food spill
- Before storing the toaster for a long period
- If you smell burning crumbs
- If smoke appears during normal use
Cleaning frequency depends on use. A toaster used several times each day may need more frequent cleaning than one used once a week.
A crumb tray helps reduce the amount of debris below the heating elements, but it does not make a dirty toaster safe by itself. Stop using the appliance if it produces repeated smoke, sparks, a burning-plastic smell, or unusual heat.
Frequently Asked Questions
Do all toasters have removable crumb trays?
No. Many pop-up toasters have a removable or hinged tray, but some models have a fixed bottom. Check the manual or look for a tray handle near the bottom or rear of the toaster.
Can I wash the crumb tray in the dishwasher?
Only if the manufacturer says it is dishwasher-safe. If the manual does not give clear instructions, wash the tray by hand with mild dish soap and dry it completely.
Why is my toaster crumb tray stuck?
Packed crumbs, a hidden latch, a bent tray, or misaligned guide rails can prevent removal. Unplug the toaster, check for a release tab, and pull the tray straight without prying.
Can I use a toaster without the crumb tray?
It is best not to. The tray is part of the toaster’s intended design and catches debris. A missing or loose tray can allow crumbs to collect beneath the heating area.
How do I clean crumbs that remain inside the toaster?
Unplug and cool the toaster. Hold it over a trash can and gently tilt it. Use a soft, dry brush for loose crumbs. Do not insert metal tools or pour liquid inside.
Conclusion
The safest way to remove a toaster crumb tray is to unplug the appliance, let it cool, and use the tray’s handle, latch, or hinge as designed. Slide-out trays should move straight out; hinged trays usually stay attached. Clean and dry the tray before reinstalling it, and stop if it will not move without force.