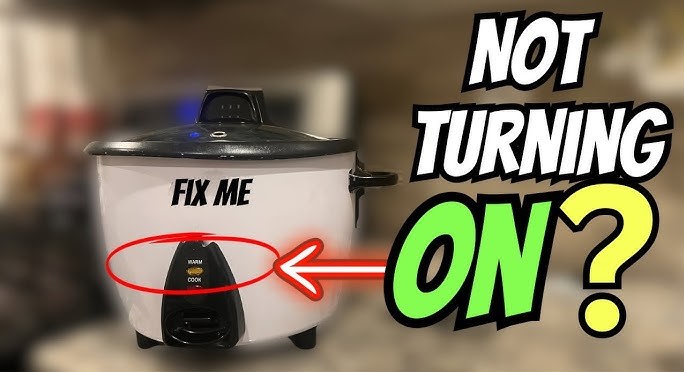
Rice Cooker Spring Not Working [Initial Troubleshooting Steps]
If you find your rice cooker spring not working, it usually means the thermal sensor mechanism is stuck or misaligned. This common issue prevents your cooker from staying in the “cook” mode or failing to switch to “warm.” By following our simple guide, you can safely repair your appliance at home.
There is nothing quite as frustrating as coming home after a long day, hungry and ready for a meal, only to discover that your rice cooker is acting up. You press the button, you hear that familiar click, but then—nothing. Or perhaps the switch pops up almost immediately, leaving you with crunchy, raw grains. If you are dealing with a rice cooker spring not working, you are definitely not alone. It is one of the most common maintenance issues for home cooks in 2026, but it is also one of the easiest to fix.
Before you toss your reliable kitchen companion into the recycling bin, take a breath. In most cases, that finicky spring is just dirty, misaligned, or slightly worn out. You don’t need a degree in electrical engineering to get it back on track. In this guide, we are going to walk through exactly why this happens, how to troubleshoot the problem, and the simple steps you can take to keep your rice fluffy and your kitchen stress-free.
Key Takeaways
- Understanding the Spring: The spring is part of a thermal sensing unit that detects the temperature at the bottom of the inner pot.
- Common Symptoms: If your rice cooker spring not working, the unit may click off prematurely, burn the rice, or refuse to start entirely.
- Safety First: Always unplug your rice cooker and let it cool down completely before attempting any mechanical repairs.
- Cleaning is Key: Often, debris or dried starch buildup is the primary reason the spring mechanism gets stuck.
- Spring Replacement: If the physical spring is rusted or snapped, it is a low-cost, easy-to-find part that can restore your cooker to life.
- When to Replace: If the internal wiring or the thermal switch itself is faulty, it might be safer to consider a new appliance rather than risky electrical repairs.
Understanding the Rice Cooker Mechanism
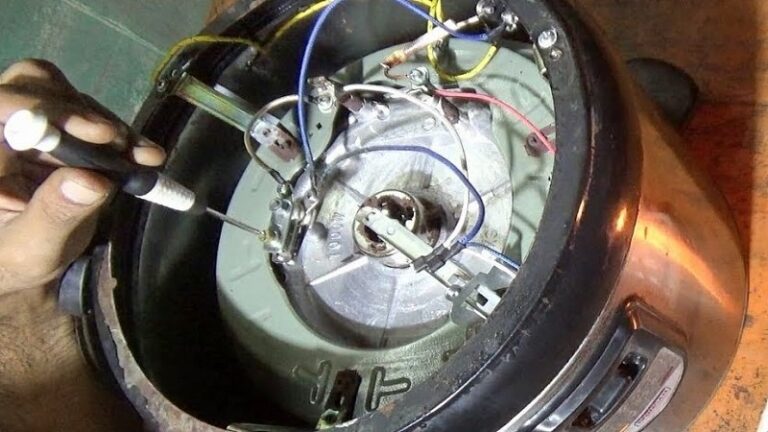
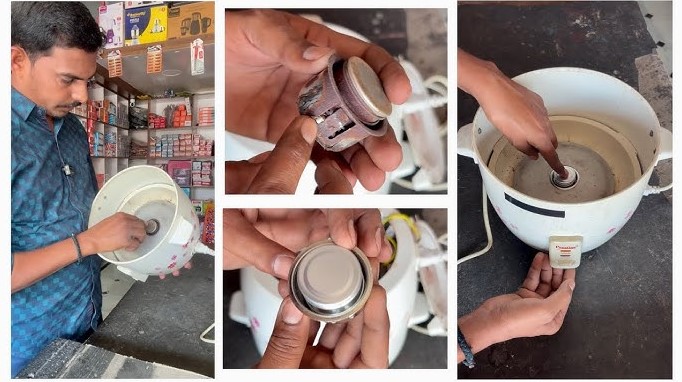
To fix the issue, you first have to understand what that spring is actually doing. Many people think it is just a mechanical button, but it is actually part of a sophisticated temperature-sensing system. Inside the base of your cooker, right in the center, there is a metal plate. Beneath that plate sits a thermal sensor—the “brains” of the operation.
How the Sensor and Spring Interact
When you put the inner pot into the cooker, it pushes down on that central spring-loaded sensor. This contact is vital. When the pot is empty or just contains raw rice and water, the heat is transferred through the base.
As soon as the water is fully absorbed by the rice, the temperature of the pot starts to climb rapidly above 212 degrees Fahrenheit (100 degrees Celsius). The internal sensor detects this sudden rise in temperature, triggers the spring mechanism, and flips the switch to “warm.”
Why Things Go Wrong
If your rice cooker spring not working, the sensor is likely failing to make proper contact or is being prevented from moving freely. This could be due to a buildup of dried starch, a small pebble of rice stuck in the housing, or a spring that has lost its tension over years of heavy use. Understanding that this is a heat-based magnetic or mechanical switch helps you see that it is all about connectivity and cleanliness.
Initial Troubleshooting Steps
Before you grab your tools, let’s do a quick “first aid” check. Sometimes, the fix is so simple you will laugh once you get it working again. Many of the problems users report are actually related to external factors rather than a broken internal part.
Cleaning the Heating Plate
The most common culprit for a rice cooker spring not working is simple grime. Over time, little bits of rice water can bubble over, dry on the heating plate, and form a hard, crusty barrier. This layer keeps your inner pot from sitting flush on the spring sensor.
Take a damp cloth and gently scrub the center of the heating plate. Ensure no debris is wedged around the rim of the spring housing. Often, a quick wipe-down is all you need to get that spring engaging correctly again.
Checking the Pot Base
Your inner pot is the other half of the equation. If your pot has a dent or a warped bottom, it might not be pushing the center spring down far enough. Place your pot on a flat countertop and see if it wobbles. If the base isn’t perfectly flat, the sensor won’t receive the weight or the heat transfer it needs. If you find a severe dent, it might be time for a replacement pot rather than a repair of the spring itself.
Deep Cleaning the Sensor Housing
If a quick wipe didn’t solve it, you might need to look a little deeper. Sometimes, tiny particles work their way inside the housing of the center spring. If you feel resistance when you press the button or the spring feels “mushy,” it is likely clogged.
The “Shake and Tap” Method
While the unit is unplugged, turn the rice cooker upside down (carefully!). Sometimes, a gentle tap on the bottom can dislodge trapped grains that are keeping the spring from fully extending or retracting. You would be amazed at how many tiny rice grains can hide inside a machine over the course of a year. Shake it gently and look for any debris that falls out.
Using Compressed Air
If you have a can of compressed air the kind used for cleaning keyboards use it to blow out any dust or debris from around the center sensor. This is a safe and dry way to clear out the mechanism without introducing moisture into the electrical components. Always do this while the unit is unplugged and fully cooled.
When You Need a Physical Repair
Sometimes, the spring has simply reached the end of its lifespan. If the metal has rusted, snapped, or completely lost its bounce, you will need to replace the part. This sounds intimidating, but for most standard rice cookers, it is a straightforward process.
Opening the Housing
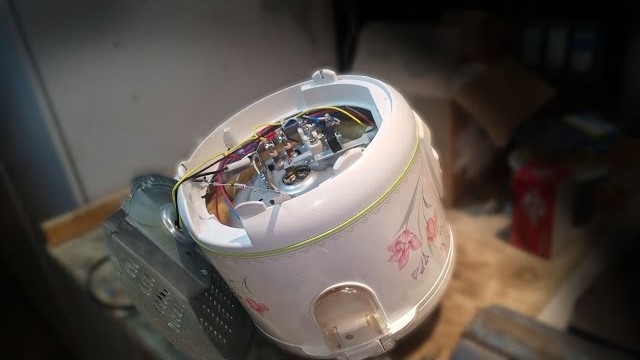
To access the spring, you usually need to unscrew the bottom panel of your rice cooker. Make sure the unit is completely unplugged. Use a standard screwdriver to remove the screws holding the plastic base in place. Once you are inside, you will see the wiring and the mechanical switch assembly. Take a photo of the layout with your phone before you touch anything; this will help you put everything back exactly as it was.
Replacing the Spring
Locate the specific spring that controls the cooking switch. If it is rusted or broken, you can often order a matching replacement from the manufacturer’s website or a generic appliance parts store. Carefully unhook the old spring and slide the new one into place. Ensure it is seated properly in its housing so that it doesn’t pop out when you move the cooker.
Maintaining Your Rice Cooker for Longevity
Now that you have addressed your rice cooker spring not working, you want to make sure you never have to deal with it again. Prevention is always better than repair. In 2026, we value our appliances and want them to last as long as possible, so follow these simple habits.
The “Dry Bottom” Rule
This is the number one tip for every rice cooker owner: always, always dry the bottom of your inner pot before placing it into the cooker. If the outside of the pot is wet, that water will eventually seep into the heating plate and the sensor housing. This moisture causes rust, electrical shorts, and mineral buildup that will eventually jam the spring. Keep a small kitchen towel handy specifically for drying the pot bottom.
Avoiding Overload
Don’t fill your cooker beyond the max line. When rice boils over, it brings starch and water directly into contact with the spring mechanism. Keep the portions reasonable to ensure the steam stays inside the pot where it belongs. If you do have a boil-over, clean the sensor area immediately after the cooker has cooled down.
When to Replace the Appliance
We love DIY, but we also value safety. There are some signs that a rice cooker is beyond saving. If the smell of burning plastic is coming from the base, or if you see charring on the electrical wires inside, stop using it immediately. If the spring is fine but the thermal sensor itself has failed, it may be time to invest in a new model.
Modern rice cookers in 2026 are more efficient than ever, often featuring induction heating and smart sensors. While it is great to fix what we have, never compromise your kitchen’s safety for the sake of an old appliance. If the repair seems too complex or involves damaged electrical cords, please prioritize your home’s safety and upgrade to a newer, more efficient model.
Conclusion
Dealing with a rice cooker spring not working can be an annoying hiccup in your daily routine, but it is rarely a terminal diagnosis for your appliance. By understanding how the spring functions as a thermal sensor and keeping the housing clean, you can solve most issues with nothing more than a cloth and a little bit of patience.
Remember to always prioritize safety, keep the bottom of your pot dry, and don’t be afraid to perform basic maintenance. With these steps, you will be back to enjoying perfectly fluffy rice in no time!
Frequently Asked Questions
Why does my rice cooker click off too early?
If your cooker clicks off prematurely, it usually means the sensor is detecting heat too quickly, often due to a lack of water or because the pot isn’t sitting flush on the spring. Ensure the bottom of the pot is clean and the center spring is free of debris.
Can I use WD-40 on the rice cooker spring?
No, you should never use lubricants like WD-40 on your rice cooker. These substances are flammable and not food-safe, which could lead to dangerous fumes or food contamination when the cooker heats up.
How do I know if the spring is actually broken?
If the spring feels loose, won’t pop back up when pressed, or shows visible signs of rust or physical snaps, it is likely broken. You can verify this by checking if the sensor housing moves freely without any grit or blockage.
Is it safe to open my rice cooker base?
It is safe to open the base only if the unit is completely unplugged and has been given time to cool. Always take a photo of the internal wiring before making any changes so you can reassemble it correctly.
What if the spring is clean but it still doesn’t work?
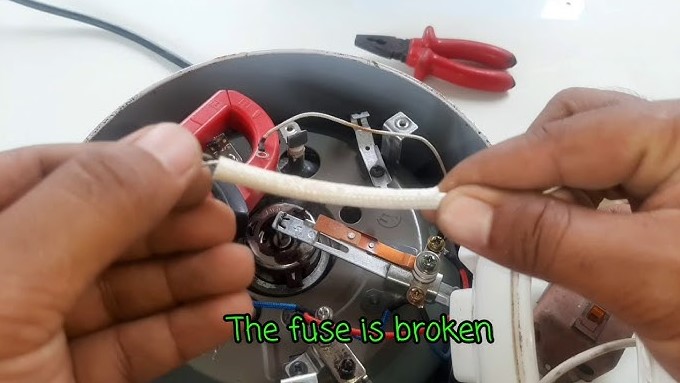
If the spring is physically fine and clean but the unit still won’t stay in “cook” mode, the issue may be the internal thermal fuse or the thermostat itself. In these cases, it is often better to seek professional help or replace the unit.
Does a warped inner pot affect the spring?
Yes, a warped pot will prevent the base from making consistent contact with the center spring sensor. If your pot has a dent or wobble, the sensor will not trigger correctly, and you should consider replacing the inner pot.