How To Make A Toaster: Safe DIY Guide
A working toaster in the United States is a 120-volt heating appliance. Building one from household power is not a safe beginner project because a mistake can cause electric shock, burns, or a kitchen fire. The safest answer is to study the design, build a low-voltage demonstration model, or repair a certified toaster with the correct replacement part.
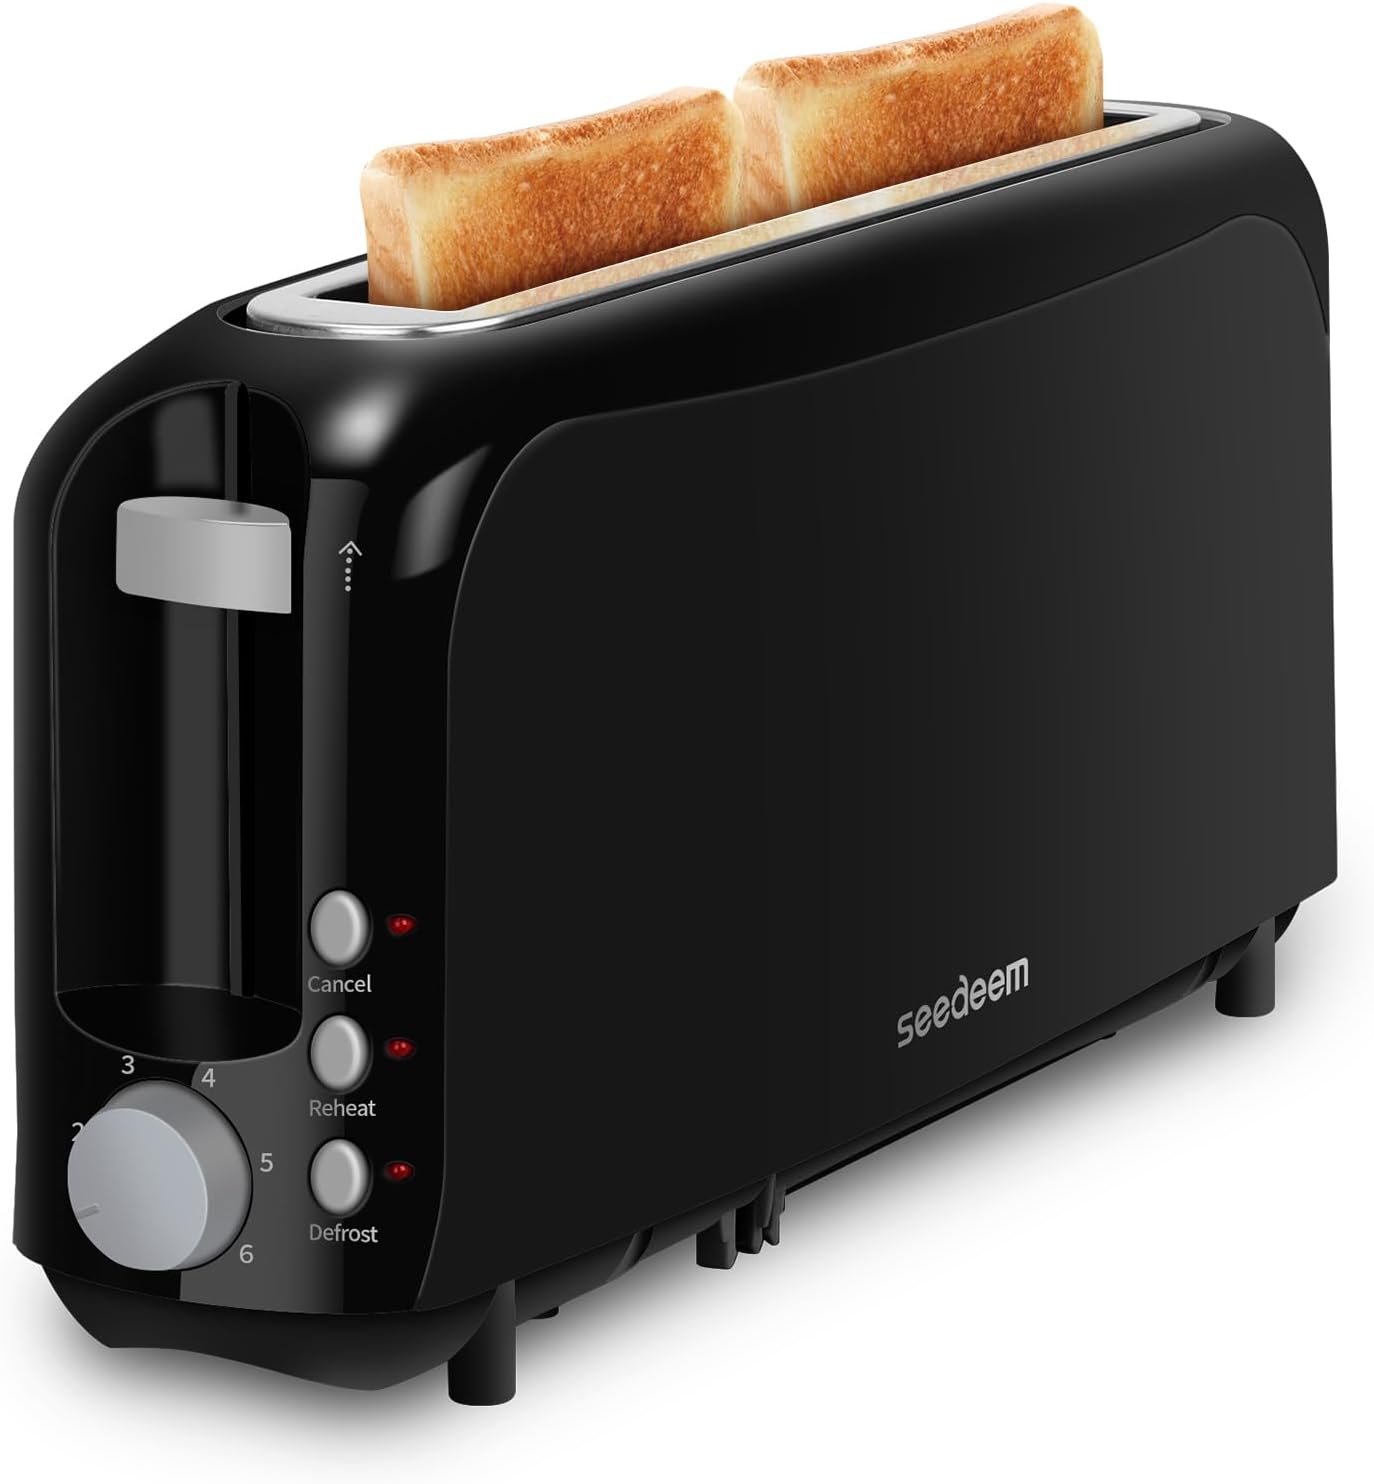
A commercial toaster uses insulated resistance wires, heat-resistant supports, a spring-loaded carriage, a timer or electronic control, and protection against overheating. These parts must work together inside a heat-resistant enclosure. The guide below explains how a toaster works, what it contains, and how to make a safer educational model without connecting homemade wiring to a U.S. wall outlet.

How a Toaster Works
A toaster turns electrical energy into heat through electrical resistance. When current passes through a resistance wire, the wire becomes hot and transfers radiant heat to the bread.
Most U.S. household toasters include these main systems:
- Heating elements: Resistance wires or ribbons that produce heat.
- Bread slots: Openings that place bread near the heating elements.
- Carriage: A moving tray that lowers and raises the bread.
- Latch or hold-down mechanism: Keeps the carriage down during a cycle.
- Timer or electronic control: Ends the heating cycle after a set time.
- Bimetal strip or sensor: Some designs use heat-sensitive metal to release the latch.
- Insulation and supports: Keep hot parts away from the case and wiring.
- Crumb tray: Catches fallen bread particles for cleaning.
- Power cord and plug: Connect the appliance to a U.S. 120-volt outlet.
The heating element is usually made from a high-resistance alloy such as nichrome. A thin wire has more resistance than a thick wire of the same material and length. As the wire resists current, it produces heat.
A toaster also needs control. If the heating element stayed on continuously, the bread could burn and nearby parts could overheat. The timer, sensor, or control circuit cuts power at the end of the cycle.

Why Building a Plug-In Toaster Is Dangerous
A homemade toaster connected to a U.S. wall outlet can be dangerous even if it appears to work. Household power can pass through the body, start an arc, or heat a wire beyond its safe limit.
The main risks are:
- Electric shock: Exposed conductors can remain energized at 120 volts.
- Fire: Bread crumbs, insulation, or nearby plastic can ignite.
- Overheating: A wrong wire size or failed control can create excessive heat.
- Short circuits: Metal parts can become energized if insulation fails.
- Burns: Homemade supports may not tolerate the temperature of a heating element.
- Carbon monoxide or smoke: Burning food, plastic, or insulation can create harmful fumes.
- Poor grounding: A metal case can become dangerous if a fault reaches it.
A fuse or circuit breaker does not make a homemade toaster safe. These devices may stop a severe overcurrent, but they do not prevent every shock, hot-surface injury, or fire.
For the same reason, do not test a homemade appliance through an extension cord, power strip, or improvised plug. Do not bypass a fuse, thermostat, safety switch, or grounding connection.
Commercial household toasters are evaluated under appliance safety requirements, including standards used by testing organizations such as UL Solutions. Certification does not make every toaster risk-free, but it means the product was designed and evaluated against defined safety requirements. A homemade device has not received that evaluation.

Parts Needed for a Safe Toaster Demonstration
The safest DIY approach is a non-mains demonstration model. It can show the toaster’s motion and control logic without attempting to heat bread with household electricity.
Use these parts:
- A small cardboard or craft-foam enclosure
- Two craft sticks or thin wood strips
- A small tray for the bread carriage
- A low-voltage battery pack
- A small hobby motor, if you want powered movement
- A low-voltage switch
- A battery holder with an on/off switch
- LED lights to represent heating elements
- Resistors matched to the LED circuit
- Tape, glue, or low-temperature craft adhesive
- Paper or foam “bread” for demonstration
- Scissors and a ruler
Do not use exposed heating wire, a car battery, a wall adapter with unknown output, or a modified toaster body. A battery-powered LED can represent heat without creating a hot surface.
Simple circuit concept
The demonstration circuit can be:
Battery positive → switch → resistor → LED → battery negative
The LED represents the heating element. The switch represents the control that starts or stops the toast cycle.
If you use a hobby motor, give it its own switch or use a simple low-voltage control board designed for that motor. Keep the motor, battery, and wires away from food and heat.
Basic resistor calculation
For an LED circuit, the resistor can be estimated with:
R = (Vsource − VLED) ÷ ILED
For example, assume:
- Battery voltage: 3 volts
- LED forward voltage: 2 volts
- Desired LED current: 0.01 ampere
Then:
R = (3 − 2) ÷ 0.01
R = 100 ohms
This is a hypothetical example. Check the LED and battery specifications before choosing a resistor. A resistor that is too small can damage the LED or drain the battery quickly.

How to Make a Low-Voltage Toaster Model
This model demonstrates the shape and operation of a toaster. It is not intended to toast bread.
1. Build the outer case
Cut a box with two narrow slots in the top. Make the slots wide enough for paper or craft-foam bread, but do not place real bread inside the model.
Leave the top open or use a removable cover. A visible design makes it easier to show how the carriage and indicator lights work.
2. Make the bread carriage
Create a small tray that can move up and down inside the box. Attach craft sticks to the tray so the user can lift it by hand.
The tray should move freely. It should not pinch wires, drag across the sides, or fall onto the electronics.
3. Add the indicator lights
Place one or two LEDs inside the model or on the front panel. Use resistors in series with the LEDs.
Label the lights as “heat on” or “cycle active.” Do not describe them as real heating elements. The model should make it clear that the lights are only visual indicators.
4. Add the control switch
Connect the battery, switch, resistor, and LED circuit. Place the switch on the side of the model where it can be reached without touching the internal wiring.
Use a battery pack designed for the voltage of your circuit. Check the polarity before turning it on.
5. Demonstrate the cycle
Place paper bread in the carriage. Lower the tray by hand, turn on the switch, and let the LEDs represent the heating period.
After a short demonstration, turn off the switch and raise the tray. A timer can be shown with a kitchen timer, or you can use a low-voltage timer module made for hobby projects.
6. Inspect the model
A safe model should have:
- No exposed sharp wire ends
- No loose batteries
- No hot parts
- No wall-plug connection
- No real bread near electrical parts
- No smoke, smell, or melted plastic
- A switch that turns the LEDs off at once
If any part becomes warm, smells unusual, or behaves unexpectedly, remove the batteries and stop using the model.

How a Real Toaster Is Designed
A production toaster needs more than a heating wire and a switch. Its parts must tolerate repeated heating and cooling cycles while keeping live electrical parts separated from the user.
Heating element design
The heating element must produce enough heat to toast bread without damaging the enclosure. Designers select the wire material, length, diameter, spacing, and support method as a group.
The element also needs mechanical support. A loose wire can sag, touch metal, or move close to bread. That can create a hot spot or electrical fault.
Thermal barriers
The inside of a toaster can become very hot. Manufacturers use heat-resistant materials and spacing to protect the plastic case, power cord, control parts, and user-accessible surfaces.
Ordinary cardboard, hot glue, tape, and general-purpose plastic are not suitable substitutes for appliance-grade insulation.
Control and shutoff
A real toaster needs a dependable way to stop heating. Depending on the design, this may involve a mechanical timer, bimetal control, electronic timing, or multiple protective devices.
A manual switch alone is not enough. The design must account for a stuck carriage, a failed timer, crumbs, blocked airflow, and repeated use.
Grounding and insulation
A toaster can use double insulation or a grounded metal system, depending on its design. The correct choice depends on the full construction, not just on the presence of a ground wire.
This is one reason electrical appliance construction should be left to qualified designers and testing laboratories. A ground connection added after the fact cannot correct poor insulation or unsafe spacing.

Can You Repair a Toaster Instead of Making One?
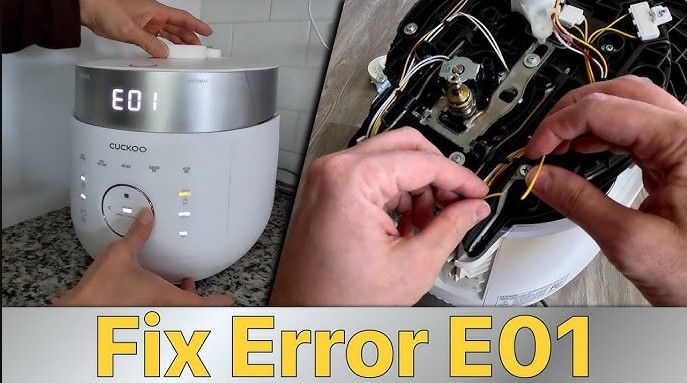
Repair may be safer than building a toaster, but it still requires care. Unplug the toaster before cleaning or inspecting it, and never work on it while it is connected to power.
For a toaster that will not heat:
- Check whether the outlet works with another safe appliance.
- Inspect the plug and cord for cuts, melting, or burn marks.
- Clean loose crumbs from the crumb tray after the toaster is unplugged.
- Check whether the carriage moves freely.
- Stop using the toaster if it smells like burning plastic or produces sparks.
Do not open the case unless you understand appliance electrical safety and can verify that the appliance is fully de-energized. Some components may retain heat or mechanical tension even after unplugging.
Replace a toaster rather than repair it when:
- The power cord is damaged.
- The case is melted or cracked near hot parts.
- The toaster sparks during normal use.
- The plug becomes hot.
- The appliance trips a breaker.
- A safety control has been bypassed.
- The correct replacement part cannot be identified.
Never use a toaster with a damaged cord, missing insulation, or a disabled safety feature. The U.S. Consumer Product Safety Commission publishes product recalls and safety information that can help you check whether a specific appliance has been recalled.

Common Mistakes to Avoid
The most dangerous mistake is treating a toaster like a simple lamp. A toaster combines electricity, high heat, moving parts, food particles, and repeated mechanical stress.
Avoid these errors:
- Connecting resistance wire directly to a wall plug
- Using household voltage in a cardboard or wood enclosure
- Reusing a damaged toaster cord
- Replacing a fuse with foil or a larger fuse
- Bypassing the timer or thermal cutoff
- Using ordinary glue as a heat barrier
- Placing bread beside exposed electrical parts
- Testing with a power strip or extension cord
- Leaving a homemade heating device unattended
- Assuming a low-voltage adapter is safe without checking its output
- Cleaning a toaster while it is plugged in
- Inserting a knife or metal tool into a toaster
If a homemade model smokes, sparks, heats up, or smells unusual, disconnect its battery or power source if you can do so without touching a damaged conductor. For a plug-in appliance, do not touch the appliance if it may be energized. Turn off power at the breaker only if that can be done safely, then seek qualified help.

Safer Options for Different Goals
The best approach depends on what you want to learn.
| Goal | Safer choice | Why |
|---|---|---|
| Learn how a toaster works | Build a low-voltage model | Shows the parts and cycle without mains heat |
| Learn about resistance | Use a classroom-approved low-voltage experiment | Limits energy and reduces shock risk |
| Toast bread | Use a certified commercial toaster | It has a tested enclosure and control system |
| Fix a broken toaster | Use the manual or a qualified appliance technician | Protects against wiring and safety-control errors |
| Demonstrate a timer | Use LEDs and a low-voltage timer module | Shows control logic without hot surfaces |
| Study heating elements | Use an approved educational heater kit | Provides known ratings and instructions |
A toaster oven, hot plate, or other heating appliance should also be certified and used according to its instructions. Do not convert one appliance into another by adding homemade heating elements or controls.

Frequently Asked Questions
Can I make a toaster with nichrome wire?
Nichrome wire can produce heat, but using it in a homemade toaster is unsafe without proper insulation, spacing, temperature control, enclosure design, and electrical protection. Do not connect nichrome wire directly to a U.S. wall outlet.
Can I power a homemade toaster with a battery?
A small battery may not provide enough energy to toast bread, while a high-capacity battery can deliver dangerous current. Battery power does not remove the risk of fire, burns, or short circuits. Use LEDs to represent heat in a classroom or hobby model.
Is it safe to use a toaster without a case?
No. The case helps keep hot parts, live conductors, crumbs, and moving mechanisms away from the user. Do not operate a toaster with the cover removed or with missing insulation.
Why does a toaster sometimes spark?
A spark may result from damaged insulation, a loose connection, a metal object, a failed component, or crumbs contacting a hot or energized part. Unplug the toaster and stop using it if sparking occurs during normal operation.
Can I make a toaster from an old toaster?
Reusing an old toaster does not make a modification safe. Its original safety system may be damaged, and changes to the heating elements, controls, case, or wiring can defeat the design. A low-voltage model is the safer reuse project.
Conclusion
You can make a safe toaster demonstration model with a craft enclosure, a battery, switches, and LEDs. That project can show the carriage, control switch, and heating cycle without producing dangerous heat or using U.S. household voltage.
A working plug-in toaster is a different class of project. It requires appliance-grade materials, thermal protection, electrical design, insulation, and safety testing. For actual toast, use a certified toaster; for learning, build the low-voltage model and keep all real heating experiments out of homemade equipment.
For further safety guidance, consult the U.S. Consumer Product Safety Commission and the National Fire Protection Association.